


How to Roast Frozen Corn Without Drying It Out
Sep 01, 2026
Leave a message
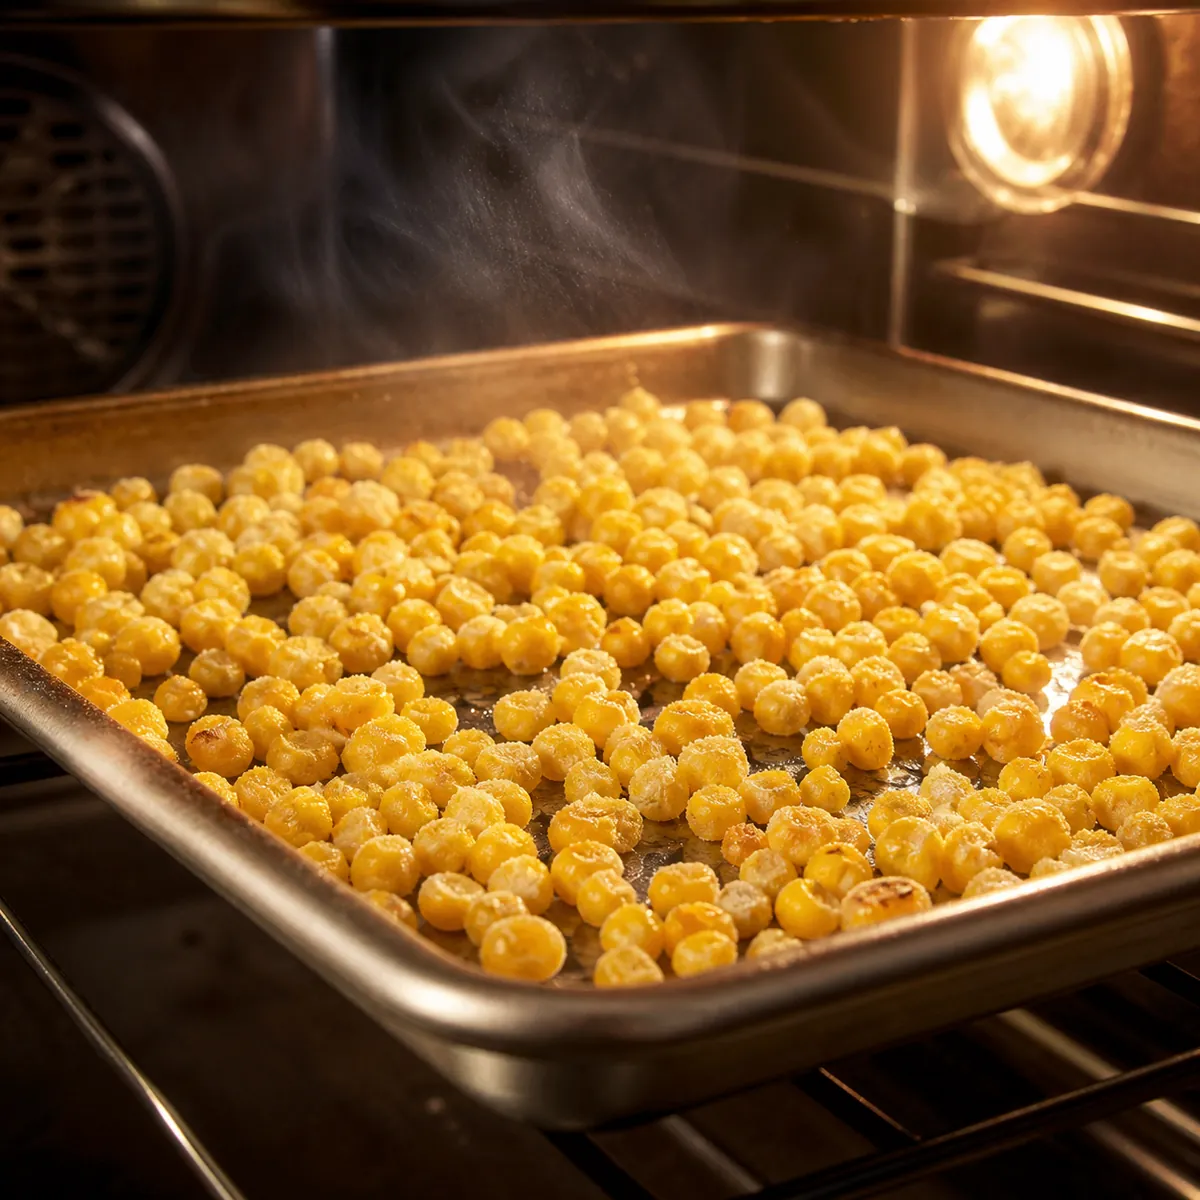
Create space for steam to leave, then stop at spot browning
For a direct-from-frozen home method, heat the oven and a sturdy rimmed pan to about 425–450°F/220–230°C. Toss free-flowing frozen kernels with a light film of high-heat oil, spread them one kernel deep and roast until moisture has evaporated and brown spots appear, stirring once. Depending on load and oven, this often takes roughly 15–25 minutes.
The endpoint matters more than a fixed minute. Overcrowding makes a wet layer that steams; extending the roast until that water finally disappears can leave the kernels tough and shriveled. If the product carries heavy frost or the application needs deeper browning, thaw it safely, drain and dry it before roasting.
Key takeaways
Why frozen corn steams before it browns
Frozen kernels enter the oven below the freezing point and may carry frost. Heat first warms the pan and corn, melts surface ice and converts water to steam. Browning becomes efficient only when the kernel surface is relatively dry and hot enough. This is why a crowded pan stays pale while a thin layer develops color.
A cold lightweight pan loses temperature when frozen corn is added. Preheating a sturdy pan improves recovery and helps water spread and evaporate instead of pooling. Use appropriate oven protection and place the pan on a stable heat-safe surface while loading it.
Oil improves contact and carries flavor, but excess oil does not remove water. It can make the finished corn greasy while the layer still steams. Start with a light, even coating. Add butter or delicate flavored oils later if their milk solids or aromas would burn at high heat.
Kernel size, sugar level, blanch, surface frost and free-flow affect the rate. A bag with large clumps needs separation before the pan goes into the oven. Do not smash an ice block with unsafe force; select a better free-flowing product or thaw it under controlled conditions.

Roasting starts with free-flowing kernels
GreenLand's frozen corn kernels provide a loose-kernel format. For roasting, buyers should confirm size, color, maturity, sweetness, blanching, broken kernels, cob material, frost and clump tolerance.
This guide intentionally excludes corn on the cob. Boiling, microwaving and grilling whole cobs belong to the existing cob article and involve different heat transfer.
For a closer explanation, see Green-land Frozen Corn on Cob.
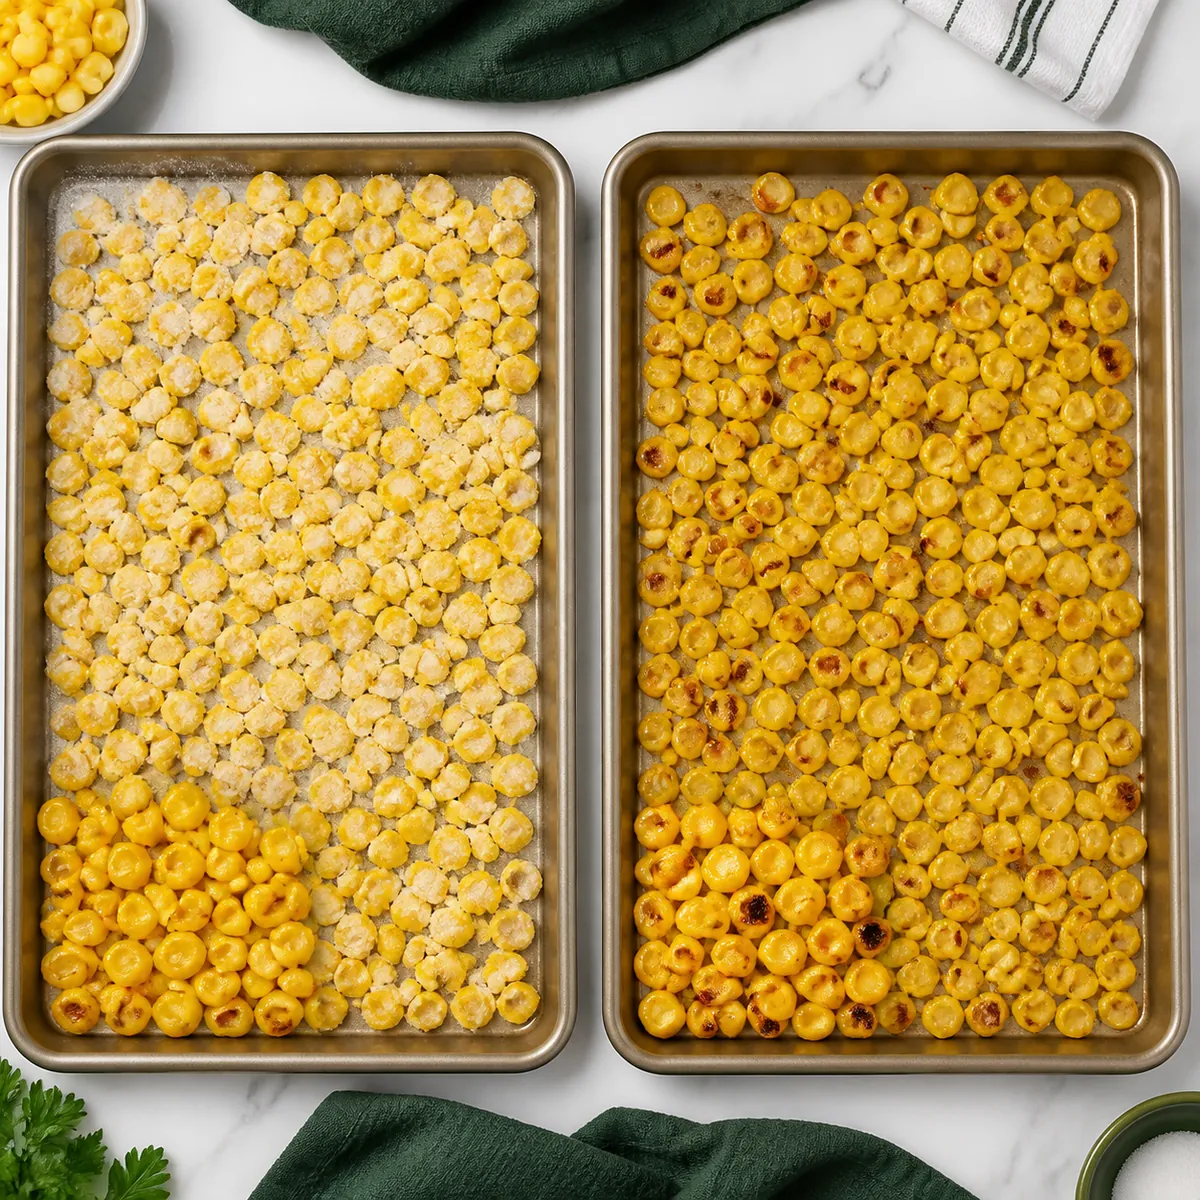
Direct from frozen versus thaw, drain and dry
| Method | Advantage | Risk | Best control |
|---|---|---|---|
| Direct from frozen | Fast setup, less handling, convenient for a dry free-flowing product | Early steaming; pale result if crowded | Preheated pan, thin layer, high heat |
| Thaw, drain and dry | Faster surface browning and more predictable seasoning adhesion | More labor and time-temperature handling | Refrigerated thaw, complete drainage, sanitary drying |
How to roast frozen corn kernels
- Preheat the oven and pan. Use about 425–450°F/220–230°C and a sturdy rimmed metal pan. Let the system fully heat.
- Assess the product. Free-flowing kernels with light frost can go direct. Heavy frost or large clumps favor a controlled thaw, drain and dry route.
- Coat lightly. Toss the corn with enough high-heat oil to create a thin film. Hold butter, sugar-heavy sauces and delicate spices until later.
- Spread one kernel deep. Use more than one pan rather than piling a large batch. Leave visible space for steam to escape.
- Roast without early disturbance. Let surfaces dry and contact the hot pan. Opening the oven repeatedly slows recovery.
- Stir once. Turn kernels when the underside has begun to color and the pan looks dry. Redistribute any pale wet area.
- Stop at the endpoint. Remove when the corn is hot and tender with scattered brown spots while most kernels remain plump.
- Season and serve. Add butter, acid, herbs, cheese or spice while hot. For a cold application, cool under the required food-safety process.
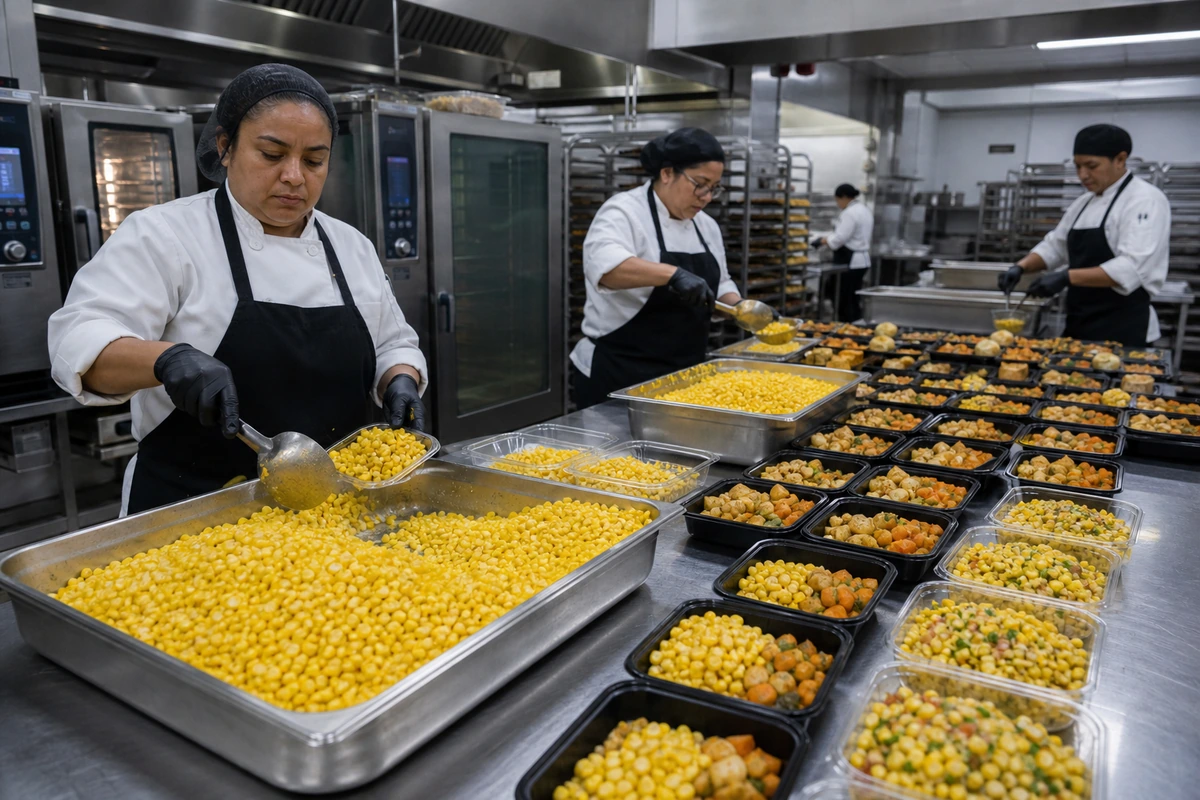
Foodservice scale changes oven recovery
A home handful and a full hotel-pan load are not equivalent. Each frozen tray absorbs heat and releases steam. Loading several pans together can reduce cavity temperature and trap humidity, extending the pale phase.
Set a maximum kernel weight per sheet, rack pattern and number of pans per batch. Validate first and last pans, rotate only when needed and record the endpoint.
Troubleshooting roasted frozen corn
| Problem | Likely cause | Next adjustment |
|---|---|---|
| Pale and watery | Crowded cold pan, heavy frost, weak oven recovery | Reduce load, preheat pan, split batches or dry first |
| Dry and shriveled | Roasted too long while waiting for universal dark color | Stop at spot browning and tender-plump texture |
| Burned seasoning | Butter solids, sugar or fine spices added too early | Use high-heat oil first and finish seasoning later |
| Uneven trays | Different loads, rack hot spots or inconsistent frost | Standardize pan weight and map the oven |
Seasoning timing protects browning
Salt can be added before roasting in a tested method, but heavily seasoned frozen kernels can draw attention away from moisture control. Start with oil and a restrained base seasoning, then taste after browning. Acid such as lime or vinegar brightens flavor but should usually be added after roasting so it does not wet the surface.
Butter brings desirable flavor yet its milk solids can darken at high oven temperatures. Add melted butter near the end or toss hot roasted corn with it after removal. The same logic applies to cheese, fresh herbs and garlic that can burn before kernels brown.
Spice blends containing sugar need particular care. Add them late, lower the finishing temperature or use a validated glaze method. Do not confuse blackened sugar with roasted corn flavor.
For large foodservice batches, pre-measure finishing seasonings per tray. This controls salt and flavor distribution and prevents a wet sauce from being poured unevenly over some pans.

Specify the kernel, not only the crop name
Confirm variety or type, maturity, kernel size and uniformity, color, sweetness, tenderness, blanching, broken and crushed kernels, cob and husk material, frost, clumps, pack and technical documents.
Approve the sample by roasting the same weight per pan. A boiling test will not expose the surface-moisture and browning behavior that matters here.
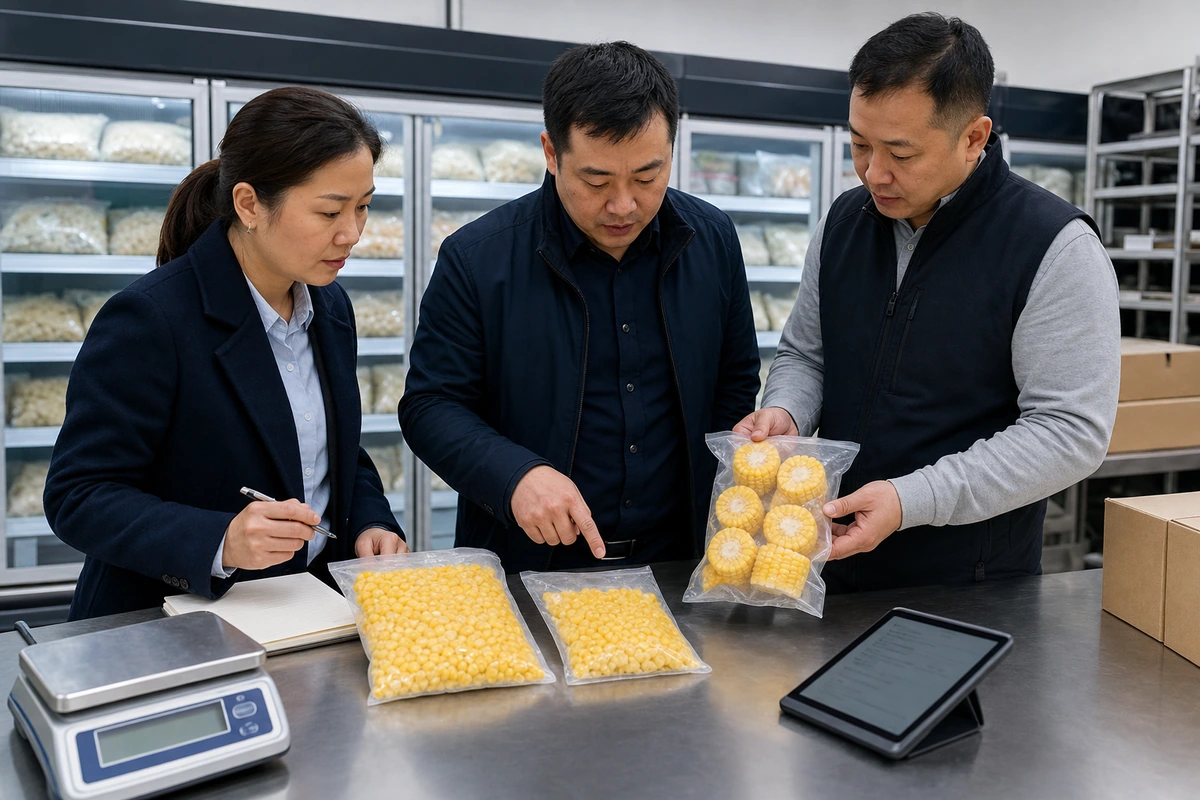
Receiving evidence explains roasting failures
Record product temperature, package integrity, clumps, frost and lot identity on arrival. Temperature cycling can add surface ice and agglomeration that later appear as a kitchen problem.
When a lot roasts differently, compare it with the approved reference under the same pan weight and oven profile before changing the recipe.
Validating roasted corn from one tray to full production
Start by defining the finished target. "Roasted" can mean lightly dried kernels with a few brown spots for a salad, deeper toast for a salsa or only a concentrated corn flavor for a ready meal. State desired color distribution, tenderness, moisture, seasoning and holding condition. Without an endpoint, staff tend to extend every batch until it is uniformly dark and dry.
Weigh the load per unit of pan area. A thin visual layer is useful, but a numerical weight per sheet makes the method transferable. Record pan dimensions and material because a small dark heavy pan does not behave like a large light aluminum sheet. Use the same parchment, liner or bare-pan condition during comparison.
Map actual oven behavior. Verify preheat, recovery after loading, rack hot spots, convection fan and exhaust. Load one tray, then several trays, and observe how steam clears. A profile that works with one home-sized sheet may fail when a rack of frozen corn enters at once. Capacity is part of the recipe.
Standardize the frozen input temperature and condition. Compare a hard-frozen free-flowing bag with a bag carrying heavier frost only if both fall within specification. If a lot is partially softened on the dock, do not treat the roasting trial as a correction. Hold and review it under the cold-chain procedure.
For direct roasting, transfer quickly from freezer to mixing and pan. Long bench time creates an uncontrolled partial thaw: surface ice melts, kernels release water and the pan receives an uneven mixture. Pre-measure oil and seasoning so setup does not delay loading.
For the thaw-dry method, use refrigerated thawing or another approved food-safe method. Drain with a consistent screen and time, then dry with sanitary equipment or controlled airflow. Weigh before and after if water loss affects portion yield. Do not leave trays at room temperature simply to make the surface dry.
Evaluate oil by weight, not a casual pour. Too little can reduce heat contact and seasoning adhesion; too much adds grease and can mask natural sweetness. Compare high-heat oils compatible with the label and flavor. Add butter or flavored oil after the hottest stage when that protects aroma and prevents burned solids.
Use a controlled stir point. Stirring immediately releases heat every time the door opens and prevents sustained pan contact. Never stirring can leave a dark underside and pale top. Choose one point after visible drying and initial color, then validate whether a second movement is needed for a particular oven.
Build an endpoint score. Estimate the percentage of kernels with browned spots, check average plumpness, tenderness, surface dryness, sweetness and any tough skins. Record pan-edge versus center differences. A photograph under consistent light helps shifts compare batches but should be supported by texture and taste.
Plan the post-oven hold. Hot corn trapped in a deep covered pan steams and loses the dry roasted surface. Spreading for a short controlled release may help, while excessive exposed holding dries the kernels. Define when seasoning, covering, chilling or service occurs and include that step in the trial.
Ready meals add another cycle. Roasted kernels may be mixed into sauce, frozen and reheated. Strong oven browning can disappear under sauce, while kernels that are perfect at the sheet may become tough after reheating. Approve the complete meal at the customer's service condition, not the intermediate ingredient alone.
Measure yield and throughput. Record frozen input, drip or drying loss, roasted output, rejected dark or dry fraction, oven minutes, trays per batch and labor. A thaw-dry route can brown faster but use more labor and space. A direct route may be more efficient if a well-controlled free-flow product is available.
When comparing suppliers, keep pan, weight, oil and oven constant. Document kernel size distribution, frost, clumps, broken kernels, color and tenderness before roasting. If one lot needs a different schedule, determine whether it is still within the intended specification or would create operational complexity.
Receiving and storage protect reproducibility. A warm loading dock, damaged bag or cycling freezer can add frost that the kitchen later interprets as a recipe failure. Record temperature and packaging, rotate inventory, keep doors closed and avoid crushing cartons that turn free-flowing kernels into compact blocks.
Release the method with boundaries. State loose kernels only, pan and load, frozen or thaw-dry route, oil level, oven and fan, stir point, approximate range, observable endpoint and hold. Train staff to stop on condition within that window. A validated method guides judgment; it does not replace it with a rigid clock.
Roasted corn checks for procurement and kitchen teams
Begin with a frozen visual check. Free-flowing kernels should separate without a large ice block. Record frost, broken kernels, cob fragments, color and odor. The kitchen should not have to roast away evidence of poor frozen condition.
Measure kernel size distribution. Small kernels lose moisture faster while large kernels take longer to heat. A broad mix can create dry and pale fractions on one sheet. Connect the accepted range to the roast endpoint.
Check maturity and tenderness. Developed sweet corn should deliver flavor and a tender skin after the validated roast. Mature tough kernels do not become tender simply by adding more oven time; they often dry further.
Review blanching and flavor. Frozen vegetables are commonly blanched before freezing, and process severity affects texture and cooked character. Approve the supplier's product by roasting, not by assuming every blanched kernel behaves alike.
Keep an approved reference bag or frozen sample under controlled conditions. When a new lot behaves differently, roast both at the same pan weight and oil. Compare drying time, brown spots, plumpness, sweetness and toughness.
Use a receiving hold for wet cartons, damaged seals or abnormal clumps. Photograph and record temperature before the pallet is dispersed. A kitchen complaint after several storage transfers provides weaker evidence.
Standardize thaw decisions. Staff should not thaw some bags on a counter and roast others hard-frozen. Choose direct or refrigerated thaw-dry for the product and record exceptions.
Control tray weight during service. A cook filling by eye may add twice the load when demand rises, turning roasting into steaming. Mark batch weights and provide enough pans and oven capacity.
Protect the finish. Acid, butter, cheese and fresh herbs can improve flavor after roasting, while a deep covered hold can soften the surface. Define the time from oven to service and the maximum holding arrangement.
For private-label or retail instructions, test the consumer equipment and likely pan. Give a useful range plus visible endpoints. Avoid promising exact browning in every oven from one rigid minute.
Calculate cost per acceptable serving. Include roasting loss, energy, labor, tray capacity and rejects. A kernel with less frost and a tighter size range may support more portions even at a higher delivered price.
Share results between purchasing and kitchen teams. Procurement controls the frozen specification; the kitchen controls pan and oven. Consistent roasted corn needs both, and neither can compensate indefinitely for the other.
A one-tray roast test for supplier samples
Use the same oven, rack, sturdy pan, kernel weight and oil percentage for every sample. Fully preheat and document actual settings. Keep seasonings simple so natural sweetness, skin toughness and off flavor remain visible.
Photograph and weigh the frozen sample. Record loose kernels, clumps, frost, broken pieces and color. If using the thaw-dry route, apply the same refrigerated thaw and drainage time and record weight change.
Spread to the same depth and start timing when the pan returns to the oven. Record when visible steam declines, when first brown spots appear and when the endpoint is reached. Note any rack or edge difference.
At the endpoint, weigh roasted yield and score plumpness, tenderness, skin toughness, sweetness, roasted flavor, dryness and color distribution. Hold a portion for the normal service time and score it again.
If the corn enters a sauce, salad or ready meal, run that application too. A strong sheet-pan sample may lose identity after mixing or reheating.
Compare results with delivered price, usable yield, oven minutes and handling. A sample that browns quickly but dries during hold may not be the best production choice.
Retain the record as the approved roast reference. Future lots can then be checked under the same method, giving purchasing and kitchen teams one shared standard.
Standardize roasted corn for batch production
Record corn weight, pan size, oven type, preheat condition, rack position, oil and seasoning for every test. Spread the kernels to a measured depth rather than describing the tray as "not crowded." A wider surface area releases steam faster and changes both browning and yield.
Weigh the finished batch when consistency matters. Excessive loss can indicate overlong roasting or an overloaded process that spends too much time evaporating water before browning. Also score color distribution, tenderness, shrivel, clumps and the amount stuck to the pan.
Test the corn in its final use. Kernels for a salad need a different endpoint from corn entering soup, salsa, a filled product or a reheated ready meal. Include holding and reheating in the trial because a kernel that tastes ideal directly from the oven may dry further before service.
For a closer explanation, see Frozen Corn Salsa: Brown, Cool and Drain Kernels Before Mixing.
For multiple trays, define whether positions are rotated and how the oven recovers after loading. Avoid increasing load without retesting airflow and moisture removal. If different frozen lots brown differently, compare kernel size, surface ice, blanch condition and solids before changing the recipe.
A short written batch standard-weights, tray area, target visual endpoint, maximum hold and corrective action-turns roasted frozen corn from an improvised side dish into a repeatable ingredient.
Frequently asked questions
Do you thaw frozen corn before roasting?
You do not have to if the kernels are free-flowing and lightly frosted. Thaw, drain and dry when stronger browning is required or the product carries heavy surface moisture.
What temperature is best for roasting frozen corn?
About 425–450°F/220–230°C is a useful range for loose kernels. Pan load, oven behavior and product frost matter, so judge surface drying, brown spots and tenderness.
Why is roasted frozen corn soggy?
The pan is usually crowded, cold or overloaded with frost, so escaping water steams the kernels. Preheat, reduce the load, use a thin layer or dry the corn first.
How do you keep roasted corn from drying out?
Use a light oil coating and remove the pan when kernels are tender and plump with scattered brown spots. Do not wait for every kernel to become dark.
Can you roast frozen corn in a convection oven?
Yes, but moving air can speed drying and browning. Lower temperature or shorten time if the equipment manufacturer and a small test indicate it. Standardize fan setting and tray load.
What should a bulk frozen corn buyer test?
Test kernel size, tenderness, sweetness, color, broken pieces, frost, clumps, foreign material, usable yield and roasting behavior at the intended pan load.
Choose frozen corn kernels that roast consistently
GreenLand-food is a frozen corn supplier and manufacturer supporting factory-direct and wholesale programs. Share your kernel target, roasting application, pack, market and volume so our team can review frozen corn supply and sample requirements.