


How to Roast Frozen Green Beans in the Oven
Aug 31, 2026
Leave a message
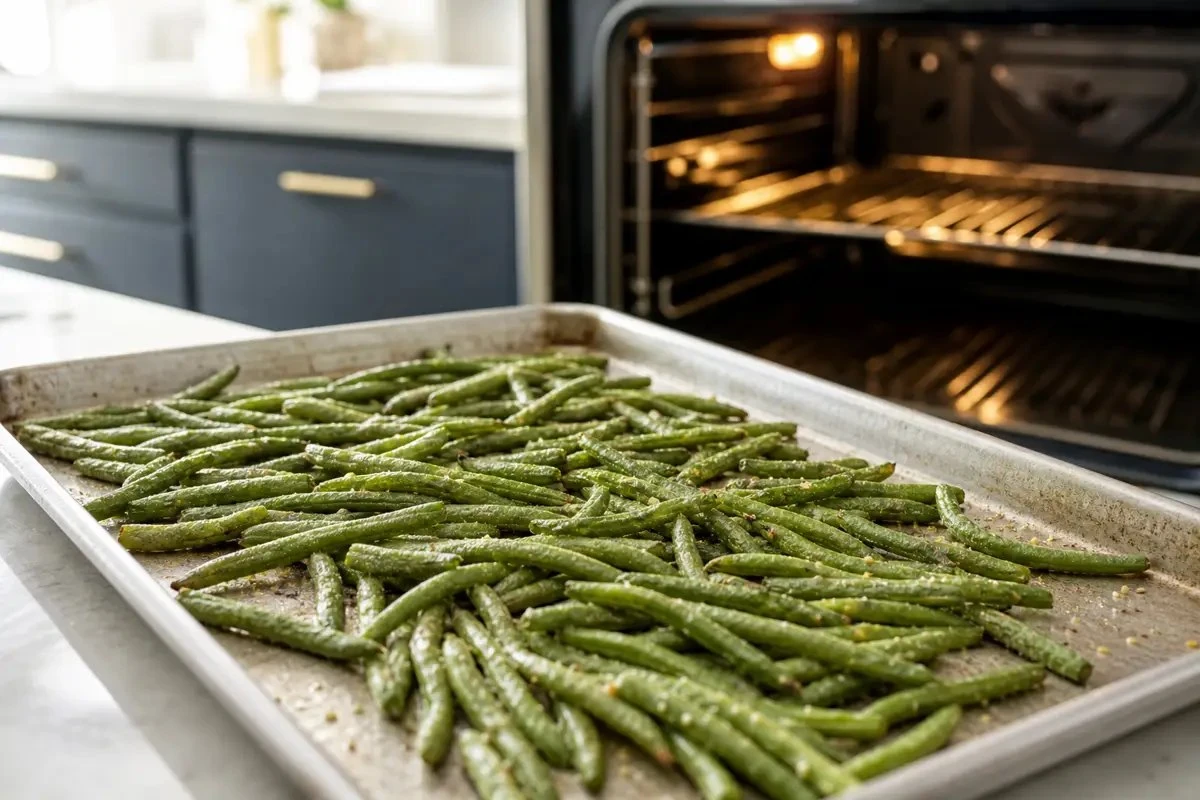
Roast hot enough to evaporate frost before the beans overcook
Spread frozen green beans on a shallow metal pan, toss with a modest amount of oil and dry seasoning, and roast at 425°F/220°C. Turn them after roughly 10–12 minutes, then check every few minutes. Thin beans and dark pans finish earlier; thick cuts, pale heavy pans, and larger loads finish later. Add fresh garlic, cheese, sugar, or lemon near the end.
Published recipes vary from about 15 to 30 minutes because bean size, load, pan, and oven differ.
Loose beans can go straight to the pan. Remove heavy frost or hard clumps first.
A shallow sheet pan with visible gaps browns better than a crowded ceramic casserole dish.
Fresh garlic, butter, cheese, herbs, and acid taste cleaner when the surface is already dry.
Why frozen green beans need a different oven strategy
Fresh beans enter the oven with water held inside intact plant tissue. Frozen beans have normally been blanched, frozen, stored, and sometimes moved through several cold-chain stages before they reach your tray. Surface frost melts immediately, and damaged cells release additional moisture as the beans heat. The first part of roasting is therefore not only cooking; it is also an evaporation stage.
If the oven is too cool or the pan is crowded, the released water remains near the beans. The air directly above the tray becomes humid, the product steams, and the center softens before the surface can brown. Raising the heat helps, but temperature alone cannot fix a deep pile. Evaporation area and airflow are equally important.
This is why one exact recipe time is unreliable. A slender whole bean has less mass than a thick cut bean. A dark steel pan absorbs heat differently from a pale aluminum pan. Parchment insulates slightly and reduces direct contact. A fan oven moves moist air more efficiently than a still oven. Even opening the door repeatedly changes recovery time. Use a calibrated starting point and observable endpoint rather than treating the timer as the only control.

Oven starting points by bean format
| Bean and load | Starting setting | First check | Likely finish range |
|---|---|---|---|
| Slender whole beans, 10–12 oz / 280–340 g | 425°F / 220°C, one layer | Turn at 9–10 minutes | 15–22 minutes |
| Regular whole beans, 12–16 oz / 340–450 g | 425°F / 220°C | Turn at 11–12 minutes | 18–25 minutes |
| Thick cut beans, 12–16 oz / 340–450 g | 425°F / 220°C | Turn at 12 minutes | 20–28 minutes |
| French-cut beans | 400–425°F / 205–220°C | Check at 8 minutes | 10–16 minutes |
| Convection or fan oven | Reduce by about 15–25°F | Check 3–5 minutes early | Use visual endpoint |
These are test ranges, not guarantees. The broad live recipe set we reviewed spans roughly 400–450°F and about 15–30 minutes. Your beans are done when they are hot through, the pan is no longer wet, and the edges show the degree of browning you want. If the centers are already tender, do not extend cooking only to chase darker color.
The reliable straight-from-frozen oven method
- Put the rack in the middle and preheat fully. Set a conventional oven to 425°F/220°C. Give the oven time to cycle at the target temperature instead of loading the tray as soon as the display first changes.
- Choose a shallow metal sheet pan. Metal transfers heat efficiently and low sides let moist air escape. A deep glass or ceramic baking dish is better for casseroles than for browning frozen vegetables.
- Inspect and separate the frozen beans. Remove loose ice. Keep beans frozen unless heavy frost or clumping makes a brief de-ice necessary. Drain and dry if you rinse them.
- Coat lightly. For a 12-ounce/340-gram bag, start with about two teaspoons of oil, then add salt, black pepper, and dry garlic or onion powder. Every surface need not shine heavily.
- Spread in one layer. Leave small gaps where possible. If the pan looks carpeted edge to edge with overlapping beans, move part of the load to a second tray.
- Roast without disturbing the first side. Give the pan about 9–12 minutes before opening the door. Early movement releases heat and interrupts contact with the tray.
- Turn and diagnose. If the pan is wet, spread the beans farther apart and return it to the oven. If the tips already brown, reduce the remaining time. Rotate the pan if the rear or one side of the oven colors faster.
- Finish and serve. Add minced fresh garlic, Parmesan, breadcrumbs, nuts, or a glaze only for the final few minutes. Add lemon, vinegar, herbs, or browned butter after roasting. Serve uncovered while the edges are dry.
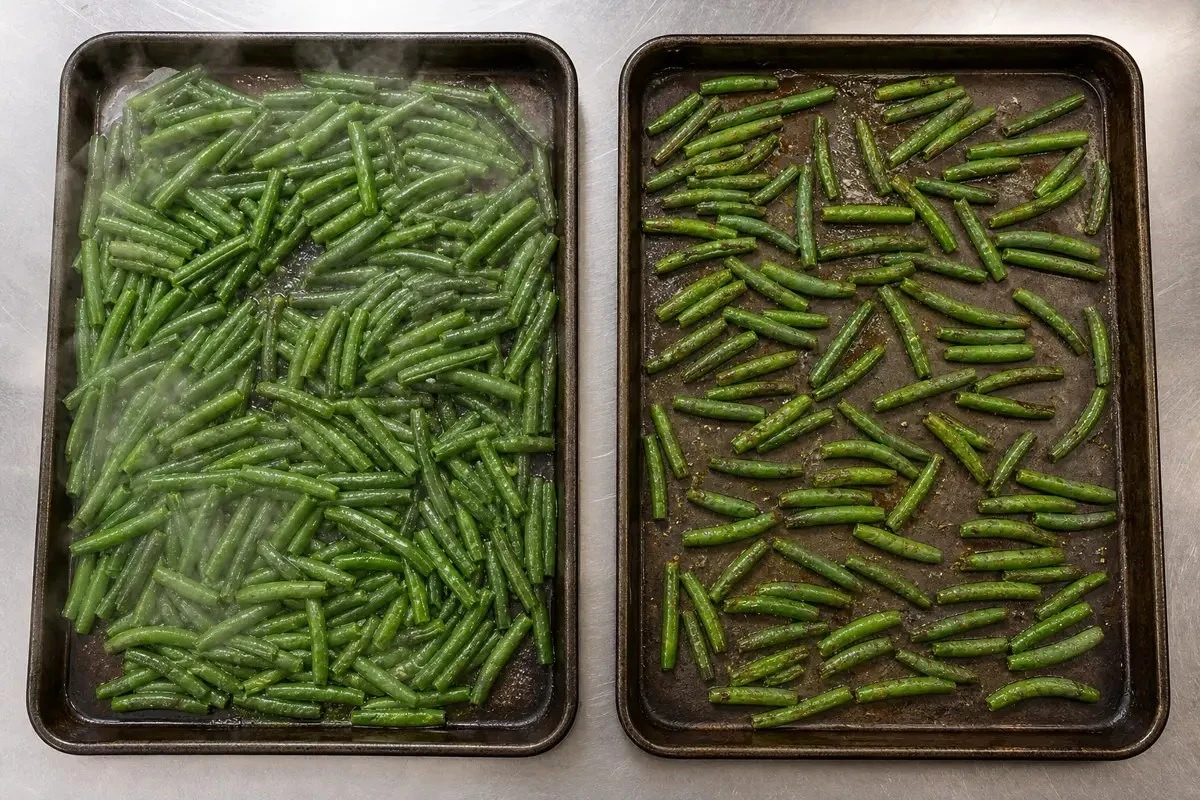
Pan, liner, oil, salt, and garlic decisions
Dark steel, pale aluminum, glass, or ceramic?
Dark metal absorbs radiant heat and often colors the contact side fastest. Pale aluminum is responsive but may brown more gently. Heavy steel takes longer to heat but holds temperature well after the frozen load lands. Glass and ceramic retain heat, yet their deep sides and slower response make them less useful when surface drying is the priority. If you switch pans, treat it as a new calibration.
Bare pan, parchment, or silicone?
A lightly oiled bare metal pan gives the strongest contact browning but requires easier release and cleaning. Parchment reduces sticking and cleanup, though it slightly buffers direct contact. A thick silicone mat insulates more and can slow browning. None of these fixes crowding. If you use parchment, choose an oven-safe product and stay within its stated temperature limit.
How much oil?
Use enough to make seasoning adhere and improve heat contact, not enough to leave a puddle. About two teaspoons for a 12-ounce bag is a reasonable starting point, but surface area changes with the cut. French-cut beans expose more area and can look dry with the same amount. Add in small increments rather than pouring freely.
When should salt and garlic go on?
Salt and dry garlic or onion powder can go on before roasting. Fresh minced garlic should enter during the final three to five minutes, and delicate herbs or lemon should go on after the tray leaves the oven. Butter and grated cheese can finish the batch, but large amounts added early interfere with moisture escape and may scorch.
Use four doneness cues, not color alone
Pan cue: there is no standing water and the beans move without dragging through liquid.
Surface cue: skins look dry, with a few blistered or browned edges rather than a wet sheen.
Center cue: a cooled test bean is hot through and tender with some resistance; it is not cold, squeaky, or hollow.
Aroma cue: the smell is nutty and green, not harshly burnt. If garlic, cheese, or thin tips smell bitter, remove the pan even if thicker pieces look pale.
Troubleshooting oven-roasted frozen green beans
| Result | Most likely cause | Correction |
|---|---|---|
| Pale and watery | Crowded tray, heavy frost, or incomplete preheat | Remove ice, split the batch, and preheat fully |
| Burnt tips, wet centers | Mixed sizes or too much top heat | Sort formats, lower the rack, and reduce temperature slightly |
| Dry and wrinkled | Over-roasted while chasing uniform browning | Stop at first light browning and use a flavor finish |
| Stuck to the pan | Too little oil or delayed turning on bare metal | Oil lightly or use parchment and a thin metal spatula |
| Garlic or cheese is bitter | Added at the beginning | Add fresh garlic and cheese only near the finish |
| One side finishes first | Oven hot spot or uneven tray material | Rotate front to back and check in smaller intervals |
Flavor finishes that do not interfere with roasting
Lemon and garlic: roast with garlic powder, salt, pepper, and oil. Add minced garlic during the last three minutes and lemon zest after the oven. Use juice sparingly so the beans stay dry.
Parmesan and herb: add finely grated Parmesan and dried Italian herbs for the final three to five minutes. Finish with parsley. Long shreds can clump and burn before they adhere.
Sesame and soy: roast with neutral oil. Toss the finished hot beans with a small amount of reduced soy, toasted sesame oil, sesame seeds, and rice vinegar. Avoid pouring a wet soy mixture onto icy beans.
Browned butter and almond: brown butter and toast almonds separately while the beans roast. Combine at service. This preserves nut texture and lets you control the butter solids.
Smoky chili: use smoked paprika, onion powder, black pepper, and oil during roasting. Finish with lime and a mild chili crisp after the tray leaves the oven. If the chili crisp contains sugar or garlic, early roasting can make it bitter.

Worked calibration: one oven, two trays, three useful observations
Suppose you need to roast two 12-ounce/340-gram bags of regular whole frozen green beans for a meal service. You have two matching rimmed aluminum trays and a conventional household oven. Instead of putting all 680 grams on one tray, divide the beans evenly. Remove loose snow, toss each tray with two teaspoons of oil and the same dry seasoning, then spread the beans so crossings are occasional rather than continuous. Preheat to 425°F/220°C with racks in the upper-middle and lower-middle positions.
At 11 minutes, open the oven once. The upper tray may look drier while the lower tray still has small wet patches; that is an observation about this oven, not proof that upper racks are always better. Turn the beans, rotate each tray front to back, and exchange rack positions. Return both trays promptly. At 18 minutes, test one bean from each tray after it cools enough to taste. If one tray is tender with dry, lightly blistered tips and the other is still glossy, remove the finished tray and give the second two more minutes. Do not keep the first batch cooking merely to make the clock match.
Now write down what mattered: 340 grams per tray, matching aluminum pans, two rack positions, one midpoint exchange, and an 18–20 minute finish range. On the next run, keep those variables fixed and change only one thing. You might compare parchment with bare metal, a different bean lot, or 300 versus 400 grams per tray. Changing the oil, pan, load, oven mode, and bean format at the same time produces a result, but it does not tell you why the result changed.
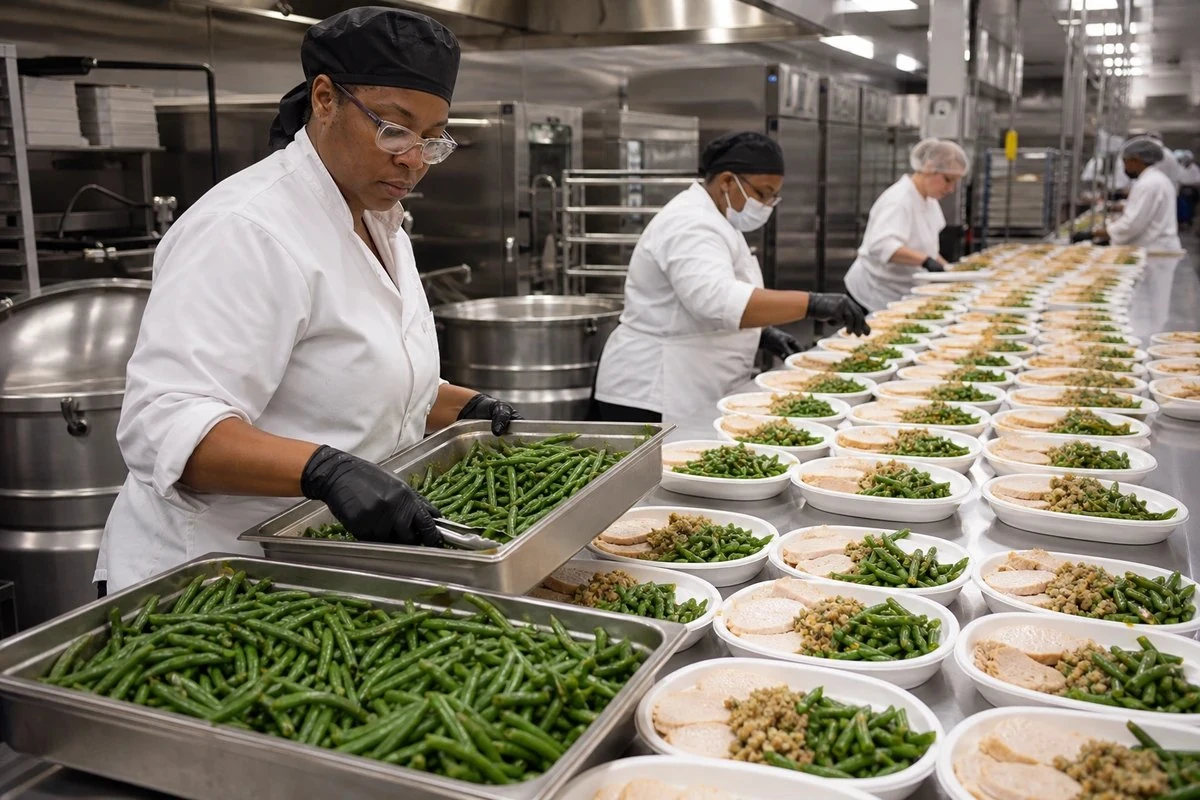
For a restaurant or test kitchen, extend the record through holding. Taste one portion immediately, one after ten minutes uncovered, and one after ten minutes in the actual covered service pan. The covered sample will usually lose edge crispness as trapped steam condenses. That finding may lead you to shorten the hold, vent the container, finish closer to service, or add a dry garnish at the last moment. It should not lead you to over-roast the entire batch until the centers are dry.
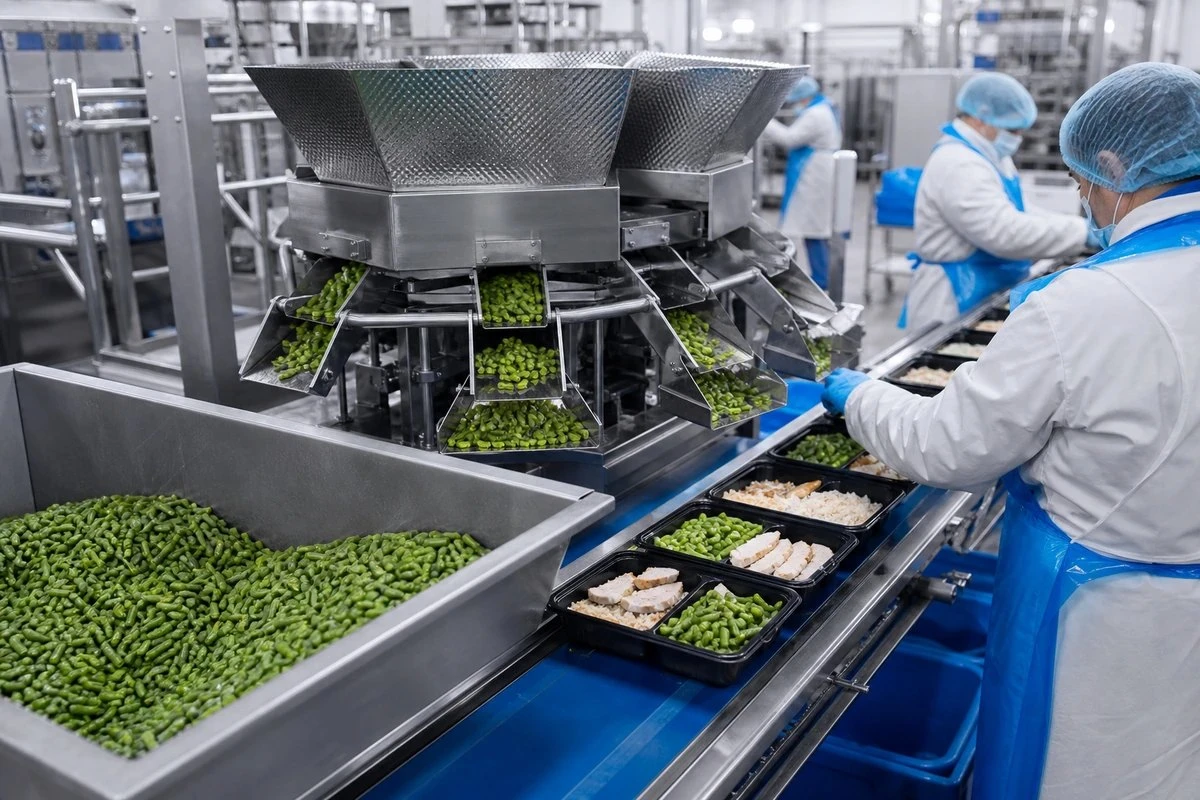
For a ready-meal developer, continue the same trial through chilling or freezing and the stated consumer reheat. A bean that looks slightly under-finished after the first roast may give the best final bite after the second heat cycle. Compare color, breakage, water release into sauce, seasoning distribution, and sensory texture at the point of eating. That complete-process result is more valuable than a photograph taken directly from the first oven.
Frequently asked questions
What temperature should I use to roast frozen green beans?
Start at 425°F or 220°C in a fully preheated oven. This is hot enough to drive off surface moisture and begin browning without making a thin bean scorch immediately. Convection ovens may need a setting about 15–25°F lower, and very thick or heavily frosted beans may need more time.
How long do frozen green beans take in the oven?
A practical starting range is 18–25 minutes at 425°F, turning once. Slender whole or French-cut beans may finish sooner, while thick cut beans, a pale heavy tray, or a larger load may need longer. Stop when the beans are hot through with dry surfaces and lightly browned edges.
Do I need to thaw frozen green beans before roasting?
Usually no. Roast loose, lightly frosted beans directly from frozen. If the bag contains a hard clump or heavy snow, remove loose ice or briefly de-ice and drain the beans; otherwise the tray may fill with water before roasting begins.
Why are my roasted frozen green beans soggy?
The most common causes are an oven that was not fully preheated, too many beans on one tray, heavy surface ice, a deep-sided dish, or covering the pan. Use a shallow metal sheet pan, spread the beans in one layer, keep the oven hot, and let steam escape.
Can I use fresh garlic when roasting frozen green beans?
Yes, but add minced fresh garlic during the final three to five minutes or after roasting. Frozen beans need enough time to release water, and garlic added at the start can burn before the beans are dry. Garlic powder is safer for the initial seasoning.
Can I roast a large batch of frozen green beans?
Yes, but use multiple trays and leave space between them for air circulation. Do not place a double batch in a thick pile on one pan. Rotate the trays from front to back and upper to lower racks at the midpoint, then check each tray separately for doneness.
Source frozen green beans for your actual oven process
Tell us the cut, diameter, pack, market, process load, finished application, and trial volume. We can review the requirement, discuss sample testing, and confirm the specification and documentation available for the proposed supply.
Request a quote Download the catalog