


How to Make Frozen Green Beans Taste Good and Crispy
Aug 28, 2026
Leave a message
Remove water before you try to build flavor
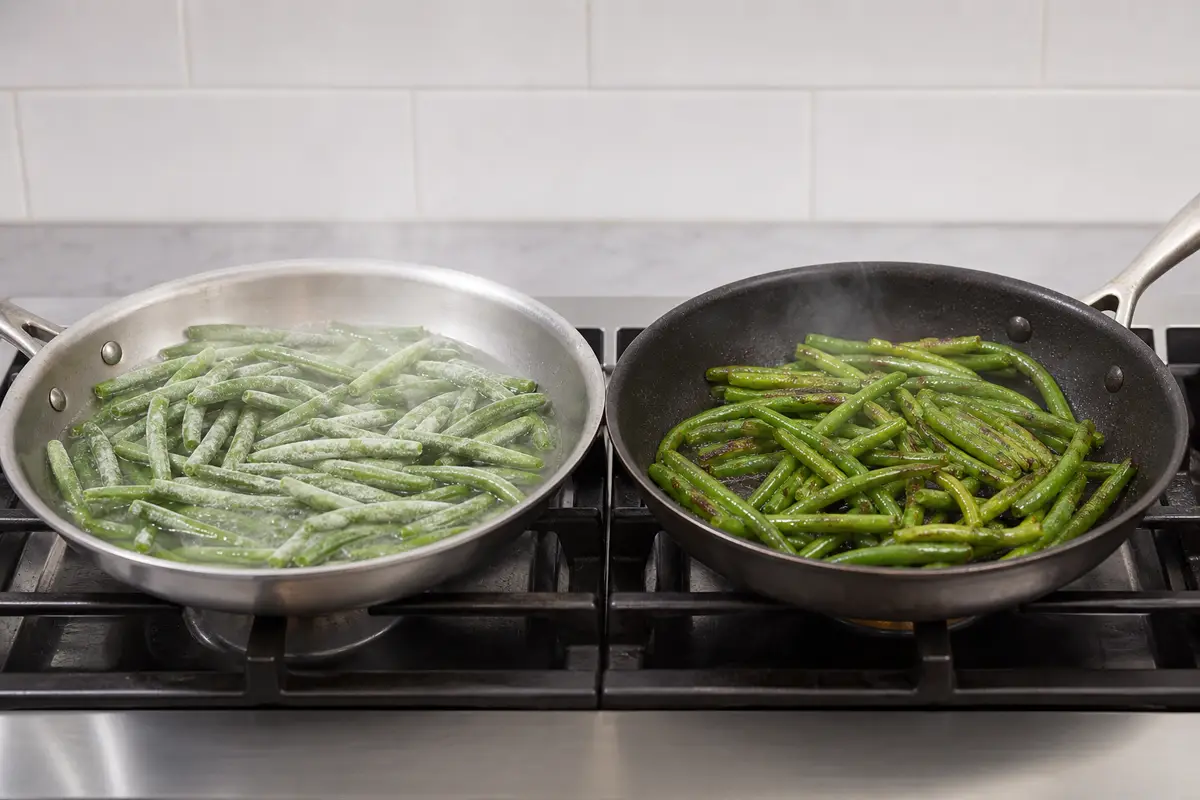
Frozen green beans taste best when they are cooked in a wide, hot, uncovered environment. Roast, air-fry, or sauté them in a light layer rather than simmering them in their own meltwater. Once the surface looks dry, add fat and dry seasonings; once browning appears, finish with garlic, cheese, nuts, herbs, or acid. That sequence prevents bland, waterlogged beans and protects delicate flavors from burning.
Freezing changes cell structure. Browning is realistic; fresh-from-the-garden snap is not.
Loose beans cook well from frozen. Heavy ice or a solid clump needs de-icing and draining first.
Every extra layer traps steam and delays browning, so batch size matters more than the printed bag time.
Dry spices tolerate heat; fresh garlic, butter, cheese, herbs, and lemon perform better near the finish.
What "crispy" can honestly mean for a frozen bean
A fresh green bean has rigid cell walls and enough internal pressure to snap cleanly. A frozen green bean has normally been blanched before freezing, and ice crystals have also affected its cellular structure. That is why a thawed frozen bean bends more easily and releases water more readily. No cooking trick reverses that history. A good result is therefore a bean with a dry surface, a few blistered or browned spots, concentrated green-bean flavor, and a tender center that still offers resistance.
This distinction matters because chasing a brittle crunch can make the inside worse. If you keep cooking until every bean is dark and rigid, the tips may burn while the center turns hollow, wrinkled, or fibrous. If you bread and deep-fry the beans, the coating can become crisp, but that is a different product. For a simple vegetable side, judge the bean by contrast: lightly browned outside, moist but not watery inside, and no squeaky raw chill at the core.
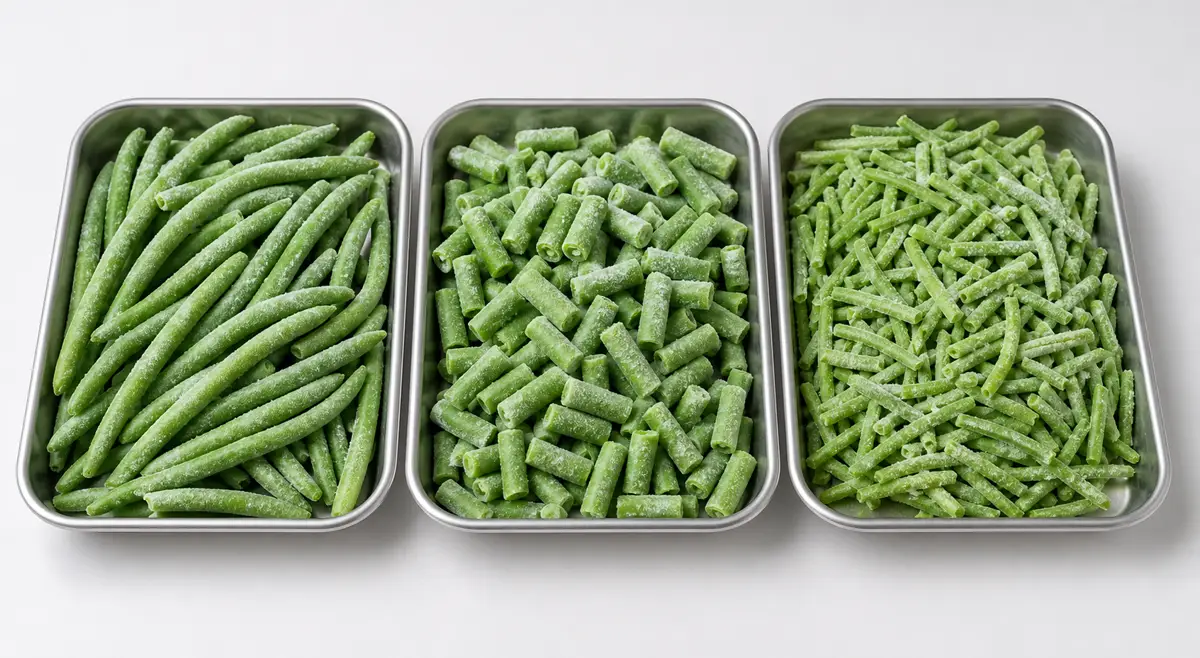
The starting product sets the ceiling. Slender whole beans generally hold their shape better than small cut pieces. A bag in which the beans flow separately gives you a cleaner start than a bag frozen into one hard block. Visible snow or heavy glaze means more water must leave before browning can begin. These are not cosmetic details; they change the actual cooking load.

Should you thaw frozen green beans first?
| Starting condition | Best choice | Why | Adjustment |
|---|---|---|---|
| Loose whole beans with light frost | Cook from frozen | Fastest route with the least handling | Use high heat and a shallow load |
| Heavy frost or a hard clump | Briefly de-ice, drain, and dry | Prevents a long pool-of-water stage | Do not fully warm or soak the beans |
| French-cut beans | Quick de-ice for skillet use | Thin strips soften while excess ice evaporates | Cook briefly and finish immediately |
| Oven or air fryer with good airflow | Usually cook from frozen | Moving hot air removes light frost efficiently | Shake or turn at the midpoint |
| Small skillet or oversized batch | De-ice or divide the batch | The pan lacks evaporation area | Use two batches rather than lower heat |
Brief de-icing means loosening the white frost under cool running water or with a very short microwave defrost, then draining thoroughly. It does not mean leaving the bag on the counter or soaking the beans in warm water. The purpose is to remove exterior ice, not to soften the vegetable before cooking.
The universal six-step anti-soggy workflow
- Inspect the bag before heating. Break apart loose beans inside the closed bag. If you feel a solid block or see unusually heavy frost after opening, choose the brief de-ice route. Remove loose ice from the bottom instead of pouring it into the pan.
- Preheat the equipment fully. Use a large skillet over medium-high heat, an air fryer around 400°F/200°C, or an oven around 425°F/220°C. The cold load will pull heat from the cooking surface, so a lukewarm start creates steam without browning.
- Load in a shallow layer. Most beans should touch hot metal or receive moving air. Slight overlap is acceptable; a deep mound is not. Divide a large family or foodservice portion into batches.
- Release water before adding delicate flavor. Let frost melt and visible water evaporate. Keep the vessel uncovered. In a skillet, this may take two to four minutes. In an air fryer, a short unseasoned first stage can be useful for heavily frosted beans.
- Add a modest amount of fat and dry seasoning. Toss with enough oil to make the surface lightly glossy, not wet. Salt, black pepper, garlic powder, onion powder, paprika, cumin, or dried herbs can now adhere and toast.
- Finish when the surface is dry and the center is hot. Add butter, fresh garlic, lemon zest, vinegar, Parmesan, toasted nuts, sesame, or crispy onions only during the final minute or after the heat is off. Serve immediately; holding under a lid reverses the work by trapping steam.
Which method gives the best texture?
| Method | Best for | Texture potential | Main risk |
|---|---|---|---|
| Hot oven | Larger batch and hands-off cooking | Dry edges with some caramelization | Crowded tray or burnt tips |
| Air fryer | Small fast batch | Strongest edge browning for the time | Overloading or drying thin beans |
| Wide skillet | Best flavor control and quick finishes | Light blistering and glossy seasoning | Pooling water or burnt garlic |
| Steam | Tender, bright beans | Moist and tender, not browned | Overcooking after the center is hot |
If texture is the priority, choose air frying for a small portion, the oven for a wider batch, or the skillet when you want to build a sauce or aromatic finish. Steaming and brief boiling are valid tender methods, but they should not be described as crisping methods.
Build flavor in three layers
Base: choose one cooking fat and enough salt. Olive oil brings fruitiness; neutral oil tolerates higher heat; butter is best reserved for the finish because its milk solids brown quickly.
Savory middle: use garlic powder, onion powder, black pepper, smoked paprika, cumin, dried thyme, or a small amount of soy sauce. Do not combine every option. Two or three compatible flavors are clearer than a heavily coated bean.
Fresh finish: add lemon zest or juice, vinegar, herbs, toasted sesame, Parmesan, almonds, browned butter, chili crisp, or crispy onions after browning. The final acid is especially useful because frozen beans can taste flat even when correctly salted.
Six flavor profiles that stay distinct
1. Garlic, black pepper, and lemon
Cook with oil, salt, and black pepper. Add minced garlic during the final 30–60 seconds, then finish off heat with lemon zest and a small squeeze of juice. This is the safest all-purpose profile because it adds aroma and brightness without hiding the bean.
2. Browned butter and almonds
Brown butter separately or in the empty edge of a skillet after the water has gone. Add toasted sliced almonds and a little lemon. The nuts provide the crunch that the frozen vegetable itself cannot fully deliver.
3. Parmesan and red pepper
Use garlic powder during cooking, then toss with finely grated Parmesan and red-pepper flakes at the end. In an oven, add the cheese only for the final few minutes so it adheres and browns without turning bitter.
4. Sesame, soy, and rice vinegar
Cook with neutral oil. Add a small splash of soy only after the bean surface is dry, let it reduce quickly, and finish with toasted sesame and rice vinegar. Too much soy early creates another watery stage.
5. Smoked paprika and crispy onion
Season with smoked paprika, onion powder, salt, and black pepper during browning. Add crushed crispy onion just before serving. This profile gives a casserole-like flavor without covering the beans in sauce.
6. Herb vinaigrette
Cook the beans simply, then toss while hot with a restrained vinaigrette of mustard, vinegar, olive oil, parsley, and shallot. This works well when the beans will be served warm or at room temperature, but dress only the amount being served so leftovers do not soften further.
Troubleshooting frozen green beans
| Problem | Likely cause | Next-batch correction |
|---|---|---|
| Water pooled in the pan | Heavy frost, crowded load, covered pan, or low heat | Remove loose ice, use a wider surface, uncover, and batch the load |
| Beans are soft but pale | They steamed until tender before the surface dried | Start hotter, reduce the load, or briefly de-ice first |
| Wrinkled, dry, or hollow center | Cooking continued too long in pursuit of crunch | Stop at first light browning and serve promptly |
| Garlic tastes bitter | Fresh garlic was added before the moisture-release stage ended | Use garlic powder early or fresh garlic in the final minute |
| Seasoning falls off | Beans were icy when dry seasoning was added | Season after frost melts, with a thin film of oil |
| Flavor is still flat | Enough salt but no acid, aroma, or texture contrast | Add lemon or vinegar plus herbs, nuts, cheese, or crispy onion |
A worked example: fixing a frosty 12-ounce bag
Imagine a 12-ounce bag of whole beans with loose product at the top but visible snow at the bottom. If you pour everything into a 10-inch skillet, the ice melts first, the pan temperature falls, and the beans pile more than one layer deep. Five minutes later, the beans may be tender but still sitting in green water. Adding butter at that point makes the liquid richer; it does not create browning.
A better correction starts before the pan. Lift the beans from the bag instead of dumping the loose ice. If frost still coats them, rinse only long enough to remove that coating, drain well, and blot the surface. Preheat a 12-inch skillet, cook half the bag first, and leave the pan uncovered. Once the hiss becomes drier and no water runs to the low side of the pan, add a teaspoon or two of oil, salt, pepper, and garlic powder. Let the beans make contact with the metal between tosses.
When a few tips brown and the center is hot, remove the batch and repeat. Combine both batches only for the final butter, lemon, and almond toss. The entire process may take a few minutes longer than dumping the bag, but the crucial improvement comes from evaporation area, not from an exotic ingredient. The same diagnosis scales to a restaurant pan or prepared-meal test: record load per surface area, released water, and endpoint instead of relying on one universal cooking time.
Storage and reheating without losing every browned edge
Cook only the quantity you expect to serve when texture matters. As hot beans cool in a closed container, steam condenses and softens the surface. If you must hold them, spread them in a shallow uncovered pan for a short period rather than piling them under a lid. Follow your own food-safety controls for hot holding and cooling; texture advice does not replace those controls.
For leftovers, cool and refrigerate promptly in a shallow container. Reheat in a wide hot skillet for two to four minutes or in an air fryer around 375°F for two to three minutes. Shake or toss once, and add a fresh finishing element after reheating. A microwave will heat the beans, but it creates steam around them, so it is the least effective option for restoring dry edges.
Do not try to fix old soft beans by cooking them for a long time. That removes more internal moisture and can make them leathery. A short dry reheat plus a new contrast-fresh lemon, toasted nuts, Parmesan, or crispy onion-produces a better result.

Frequently asked questions
Can frozen green beans become truly crispy?
They can develop dry, browned edges and a pleasant crisp-tender bite, but they will not have the same raw snap as fresh beans. Blanching and freezing soften cell structure, so the realistic goal is a dry exterior, light blistering, and a tender center rather than a brittle crunch.
Should I thaw frozen green beans before cooking them?
Usually no. Cook loose, lightly frosted beans directly from frozen in a hot oven, air fryer, or wide skillet. If the bag contains heavy frost or solid clumps, briefly de-ice the beans, drain them, and dry the surface before using a fast skillet method.
For preparation details, see How to Cook Frozen Green Beans in an Air Fryer.
Why do my frozen green beans turn watery?
The usual causes are a crowded pan, low heat, a heavy ice load, or covering the beans while moisture is trying to escape. Use a wider cooking surface, work in batches, keep the pan uncovered, and wait for visible water to evaporate before adding butter, sauce, or cheese.
What seasoning makes frozen green beans taste better?
Start with salt, black pepper, and a modest amount of oil. Add garlic powder or onion powder during cooking, then finish with an acid such as lemon juice or vinegar. Parmesan, toasted almonds, sesame, chili crisp, browned butter, or crispy onions add savory depth and texture.
Which frozen green bean cut gives the best texture?
Slender whole beans usually give the best stand-alone side-dish texture because they lose less moisture through cut surfaces. Regular cut beans are versatile but soften faster. French-cut beans have the highest exposed surface area and are better for quick sautés, casseroles, or sauced dishes than for pronounced browning.
For ingredient format details, see What Are French-Cut Green Beans? Cut Style, Cooking and Bulk Supply.
How should I reheat cooked frozen green beans?
Reheat them quickly with dry heat. Use a hot skillet for two to four minutes or an air fryer at about 375°F for two to three minutes. A microwave is convenient, but it softens browned edges because trapped steam condenses around the beans.
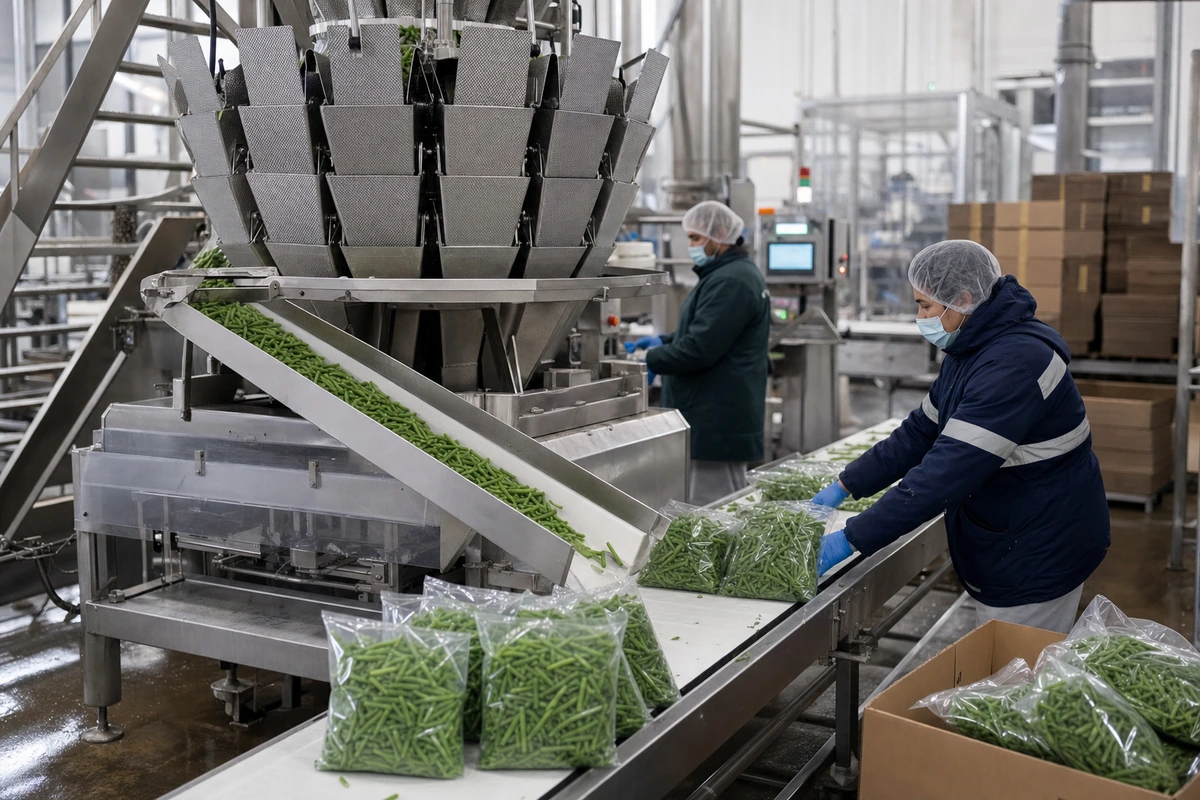
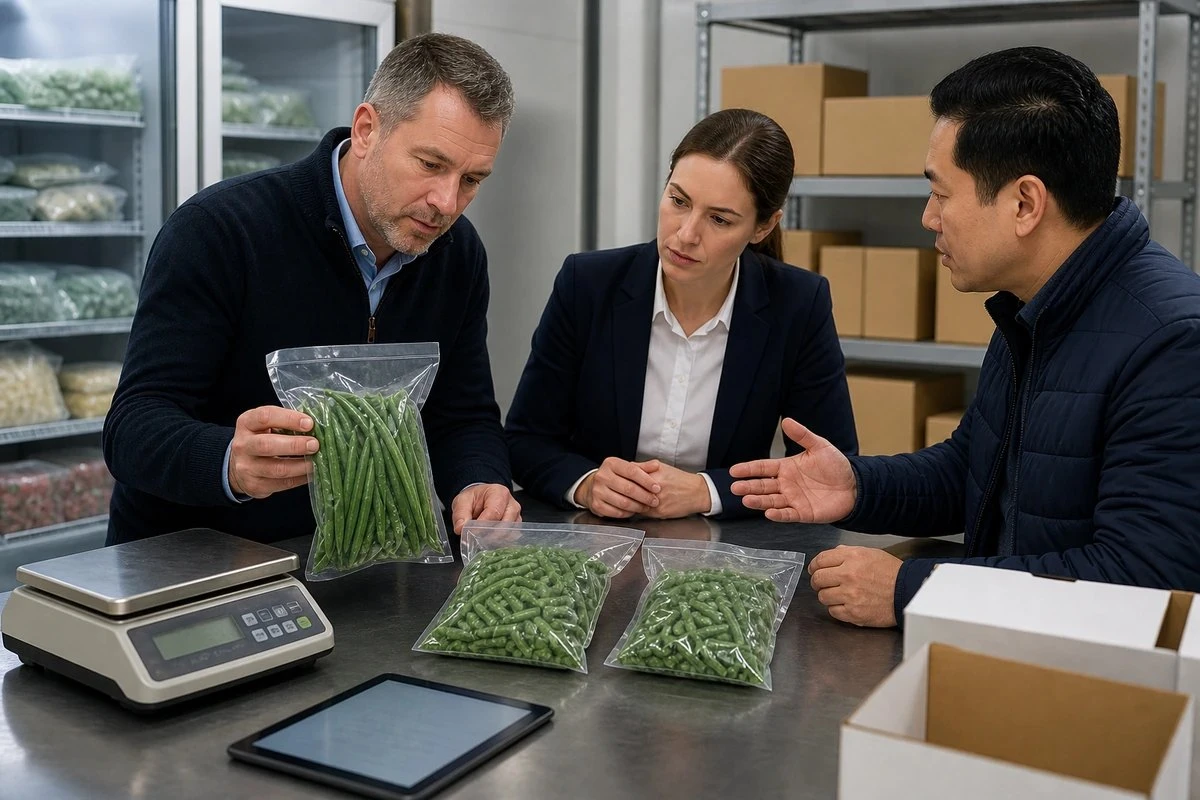
Need IQF green beans for a repeatable commercial application?
Send us the bean format, target size, pack style, destination market, annual or trial volume, and finished application. We can review the requirement, discuss sample testing, and confirm the specification and documentation available for the proposed supply.
Request a quote Download the catalog